Warne Mountain Tech 30mm Rings
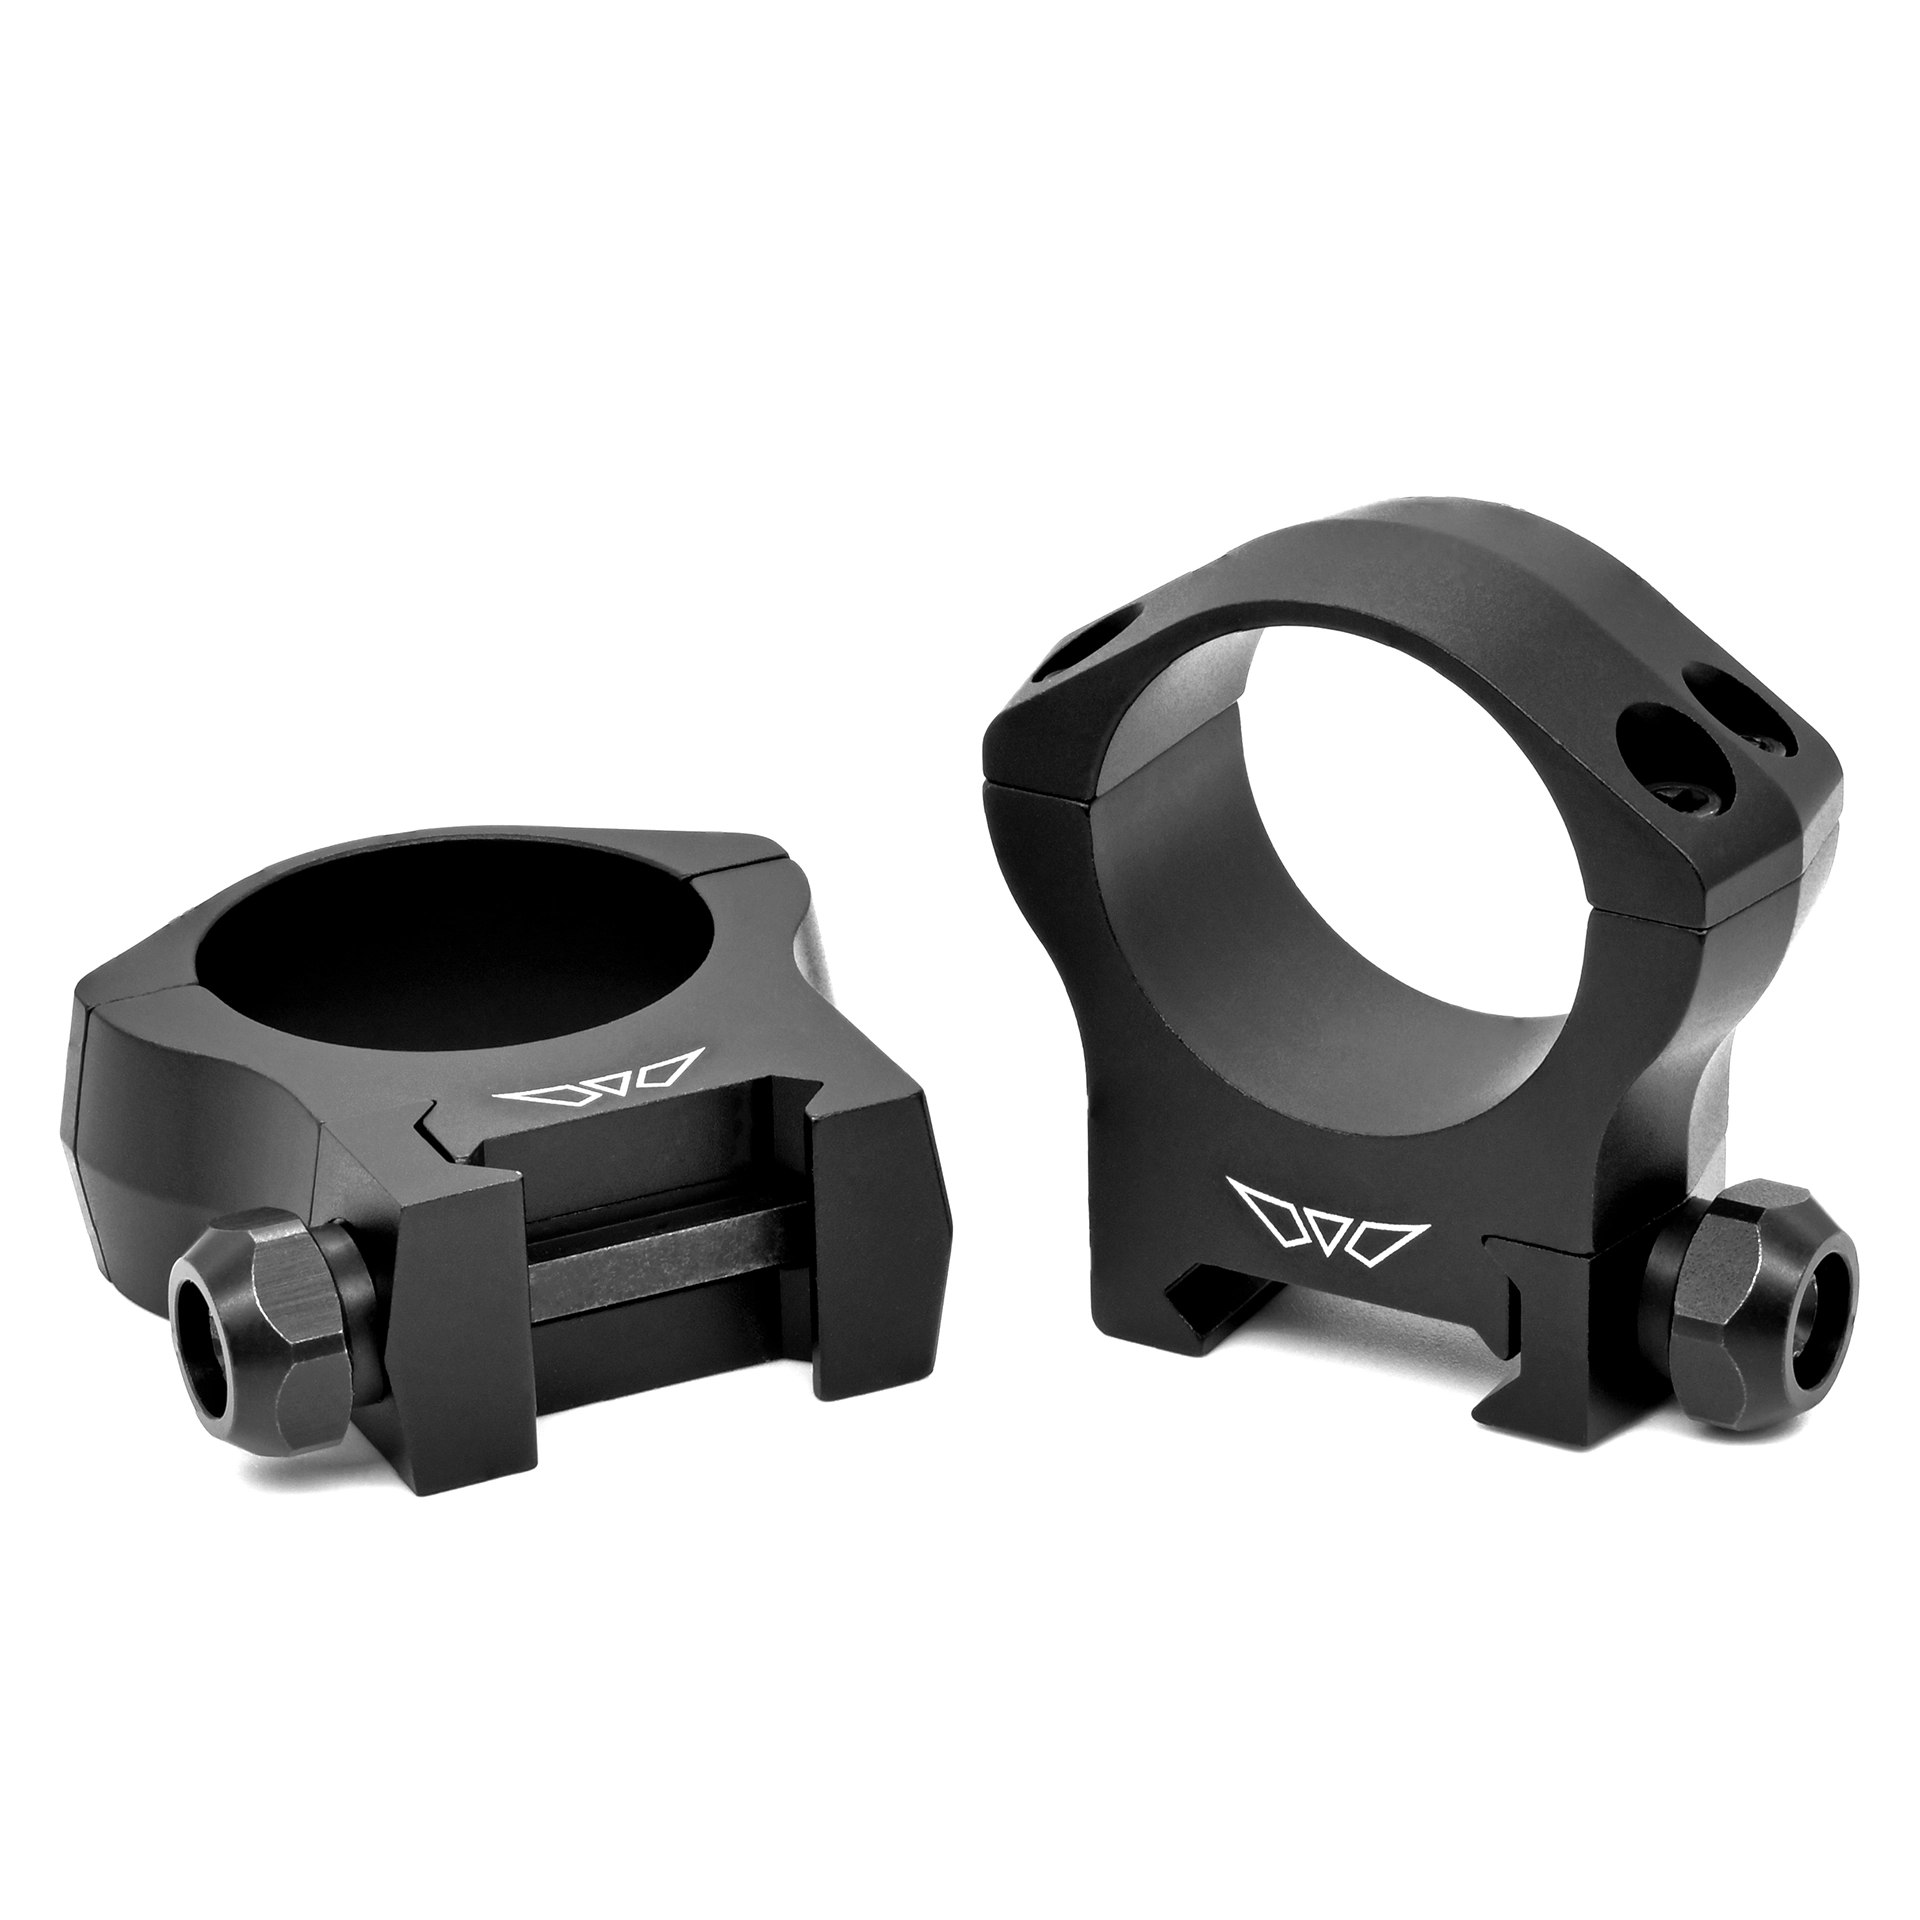
The credo of the backcountry hunter. When tired legs are the only mode of transportation. When the air feels thin, and feet feel heavy. When months of preparation, training and sleepless nights thinking about the upcoming hunt culminate into a single moment, placing the crosshair where it needs to be for the perfect shot. Warne Mountain Tech 30mm Rings are the ultimate lightweight precision scope mounting system. Don’t leave your dream hunt to chance. When every ounce matters, and every shot counts, Warne Mountain Tech are the scope mounts you can depend on.
Warne Mountain Tech 30mm Features
- Precision CNC machined from 7075/T6 aluminum for a high strength & lightweight platform
- Mil-Spec hardcoat anodized finish for abrasion and corrosion resistance.
- Rings feature stainless steel hardware for “Element Proof” protection.
- Mil-Spec 65 in/lb., 1/2″ tactical nut attachments for securely clamping to the rail.
- Fits Picatinny & Weaver style mounts and are NATO-STANAG compatible.
- Available for 1″, 30 and 34mm tube sizes; in Low, Medium, High and MSR ideal height; For maximum compatibility with most scope/firearm combinations.
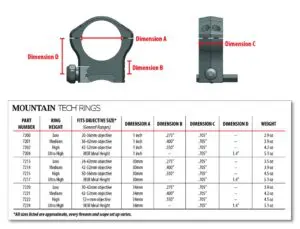
Warne Mountain Tech 30mm Rings Specs
Warne Mountain Tech 30mm Rings Instructions
Installation Instructions Always verify that your firearm is UN-LOADED before performing any service on it. Warne recommends that you loosely assemble rings and scope onto firearm prior to final mounting to verify eye relief and ring spacing.
- Loosen both nuts on the Mountain Tech rings and install on your Mountain Tech rail or Maxima (weaver style) bases.
- Slide each ring forward so the recoil lug is contacting the front of the cross slot. Torque the ring nut to 65 in/lbs and repeat for the other ring.
- Remove the four cap screws from each top cap with the supplied T-15 wrench and remove top caps.
- Place your scope in the Mountain Tech rings and replace top caps and screws
- With the scope still loose in the rings, adjust the scope for eye relief and correct orientation of the reticle.
- Finally, tighten the cap screws in a criss cross pattern to 18 in/lb* max.
To remove the scope, simply loosen the ½” nuts and lift the scope off the base, tilting slightly to the opposite side of the nut. To re-mount the scope, simply place the rings into the slots the scope was originally mounted in, slide the scope forward until the recoil lugs contact the front of the slot, and tighten the ½” nut to 65 in/lbs and repeat for the other ring. NOTE: The ½” tactical nut screw assembly is pre-assembled at the factory and does not require any adjustments. Tampering with this screw can cause improper function of the scope rings.


Reviews
There are no reviews yet.